Wednesday, January 27, 2010

Taking the dead engine apart

While the new engine was at the machine shop getting cleaned up and bored out, I started the task of taking the old one apart. I was hoping to figure out what exactly happened to cause the engine to blow up as it did.

Taking the engine apart is pretty basic. Started by removing the Valve cover. Right away I noticed that something clearly wasn't right. The Volvo b-18/20 engines use pushrods to open and close the valves in the cylinder head. The pushrods ride up and down on the cam-shaft lobes. If you look closely at the picture, you'll notice that one of the pushrods was completely missing.

A missing pushrod means that the camshaft must have broken, allowing the pushrod to fall into oil pan. Not surprising, all things considered. I was hoping I'd be able to save the cam from the engine and reuse it (as it was the most expensive part I put in the blue block.) Now that won't be an option.


After taking the valve cover off I removed the carbs. The intake and exhaust manifolds were next. With the manifolds removed from the head, I was able to get the head off the engine for a closer look at things. (I had forgotten to drain the cooling system which is why the cylinders were full of coolant.) Once the head was off, I could see that a catastrophic failure inside the engine had happened. Piston 1 and 4 should be top dead center at the same time. When the crank was rotated, piston 4 didn't move.

Removal of the old engine is pretty straight forward. Disconnect any wires, hook up the engine hoist to a few lift points on the block and remove the mounts. The engine was removed with the transmission in this case (as the tranny needs to be resealed anyway.) The engine bay sure looks weird with so much pavement staring up at you from below.

Now that the dead engine is out of the car, my next entry will deal with what I found when I pulled it apart. Pictures to come as well! Stay tuned.

Friday, January 8, 2010

Engine replacement: Day one.

On Monday of this week, I picked up the engine that will be going into the amazon. Lee Boerner had an engine out of a '75 240 taking up space in his garage and many of the pieces needed for a rebuild. New pistons, bearings, a crank and other bits were included.


We loaded the block into the back of my '80 245, securing it using straps, and a tire to sort of "cup" the oil pan.

Off to the garage the whole thing went. Rob at Vol-Tech is graciously allowing me access to his garage and tools for this project.

First, we unloaded the engine and placed it on a stand. The next step was to take it apart. The engine had to come apart. I started removing bolts left and right on the engine, keeping (decent) track of what goes where. Eventually I had taken the oil pan off, gotten the crank and camshaft out.

The fun part was getting the pistons to come free. Rob pushed on them from above and it was my task to catch them before they hit the ground.

The engine must have had a knock, as piston 2 was missing half of it's bearing.


This block is absolutely filthy. It might be the dirtiest block I've ever dealt with. It's a strange sticky oily film. I've always wondered how people can let the engine in their car get so grungy. It only takes a few minutes (and a few quarters) every few months to keep things nice and shiny! See this VClassics article.


By the end of the day I had the new engine completely apart and loaded back into my wagon. I put a liner down on the cargo floor because of how nasty (dirty-wise) the new block. Without the pistons or crank in the engine it's surprisingly light! I was able to lift the engine completely by my self!

The next day, the engine is off to the machine shop. You can read more about that in my next entry.

Thursday, January 7, 2010

I'm back, and boy do I have a lot to blog about!

So I know I said I'd keep this thing up to date and I obviously have done a very poor job of doing that.

That said, I have a very good reason to resume writing this blog.

The engine in my 122 broke a rod in December. Poked a hole in the block. It's not pretty. So now it's time to replace the engine, basically. See attached picture:


It's not pretty.

This time around I'll be taking lots of pictures and writing about what I'm doing. My hope is that anyone can read this blog and follow along my daily exploits, and most importantly understand what I'm doing at any given time.

Fellow Volvo nut Lee Boerner had the most important pieces I'll need for the project. He sold me a B-20 (from a '75 240) engine, along with new over-bore pistons, bearings, and a machined crank, all for a very fair price.

There is much work left to be done, but how nice it will be when it's all finally back together, and I'm behind the wheel. Feel free to post any questions or suggestions you may have along the way!

My goal is to have the car back on the road by the end of this month (January.) We'll see if I make it.

Monday, February 2, 2009

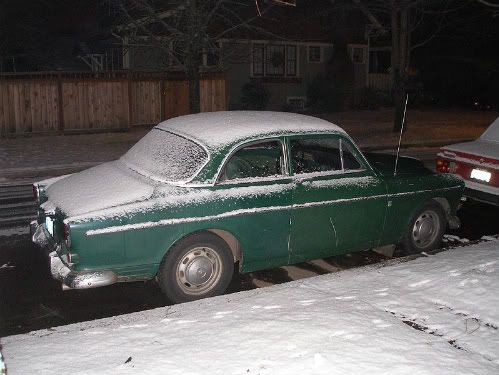
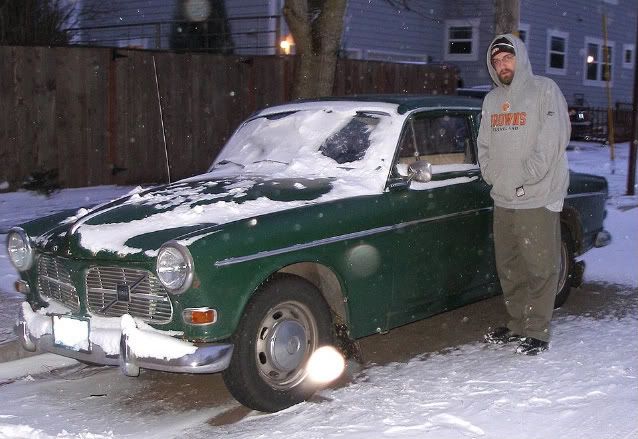
Volvos in the Snow

With the recent weather spell, there hasn't been a lot to report. It's been snowing a great deal and it's also been very cold. As a result I haven't really done a great deal to my 122 that I probably should.

At the moment I need to rebuild the brake drums in the back of the car. There are some nasty scraping / rumbling sounds coming from the back of the car. I'm waiting for the weather to get better before I tear into it.

In the mean time here's some pictures of the 122 in the snow!

Photobucket

Photobucket

Saturday, December 13, 2008

Removing water from inside the car

Having just had the windshield and the seal replaced last week by Shayne Green, I wanted to start with as "fresh" of a car as possible.

Years of a leaky windshield has lead to water making it's way into the car. Usually, when it would rain, the inside of the car would get wet. If you were driving along, you would start feeling drips on your feet!

Well as you can imagine this would cause the car to fog up quite quickly on colder days. Armed with only a 2 speed heater fan (this car has no rear window defogger), it became quite difficult to drive when it would be cold. The front window would stay mostly clear once the car had warmed up. Forget about the rear window, there was nothing I could do to keep it fog-less.

I never bothered trying to suck the water out of the car since I knew it would just end up back in the car next time it rained. Now with a new windshield, I won't have that problem anymore! I decided that this was the time to remove the water inside the car.

There are many suggested ways of doing this. They range from simple (such as vacuuming up any water that might be in the carpets) to extreme (pulling the entire interior of the car out). I settled somewhere in between.

With the aid of a dehumidifier that usually takes space in my parent's basement, I was able to get almost all the water out of the car!

Photobucket

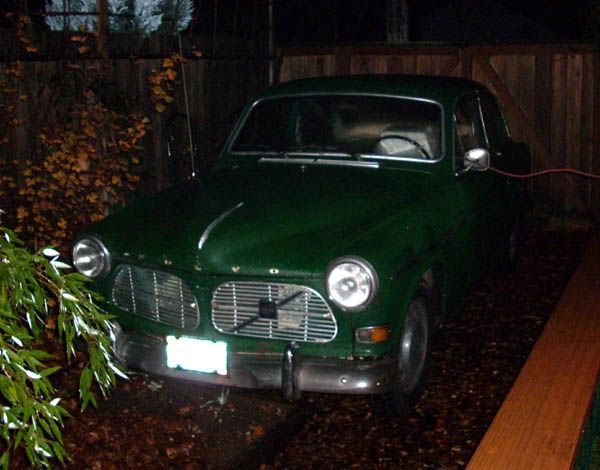
Here's the car in the backyard with the dehumidifier sitting in the front drivers seat.

I let the car sit that way for a couple of days while my distributor was being rebuilt, emptying the water basket every day when I would wake up. I didn't measure how much water I dumped out, but I'd guess it was probably about a quarter of a quart. Granted that's not a ton of water, but it's a lot considering this much water was pulled out of the air inside my car.

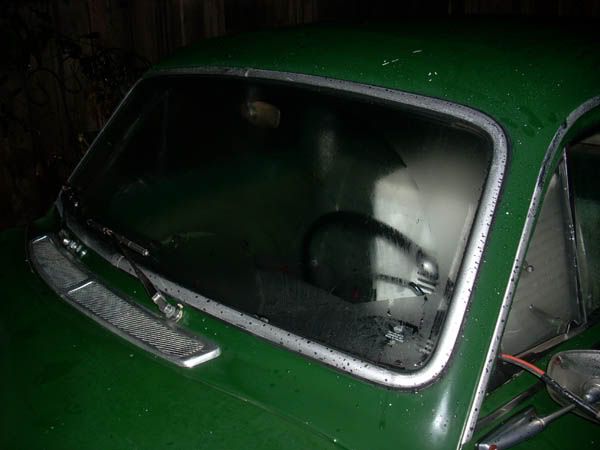
Here's a picture of the window about 5 minutes after I turned the dehumidifier on.

Photobucket

By the time I pulled that machine out of the car it was totally dry inside! So dry in fact, that the windows haven't held any condensation at all since! I went outside last night at about 2am or so (after the car had been sitting for an extended period of time) and all the windows were completely clear.


Today I got my first test of the windshield seal. It was raining quite hard in Portland, and I took the car for a spin. On the road for over an hour in some pretty nasty rain, and not a single drip inside the car!

I've still got a bit of an ignition issue to sort out, but right now I'm quite pleased with the progress I've made on this car thus far!

Thursday, December 11, 2008

My new distributor staring in "The Adventure of the flying timing light!"

For a while now I've been fighting with an erratic idle, which eventually progressed into surging while I would be driving along. It got to the point where the car was just about undriveable.

At first I thought the carbs were worn out, but after a conversation with the Paul (the previous owner) I ruled them out. Paul had the carbs rebuilt not too long before I bought the car.

So I spent time tweaking and adjusting the carbs, thinking they just were out of adjustment. No change.

Next thought was that the Valves weren't set right.

I had my car over at Shayne Green's place this past weekend (for a new windshield, another blog entry will come on that). Shayne was kind enough to adjust the valves on my car for me, but noted that they were already adjusted with-in spec. He took the car for a spin and instantly knew the Distributor was on it's way out.

Shayne knew of a good distributor rebuild company based here in Portland, so off I went to get my distributor rebuilt.

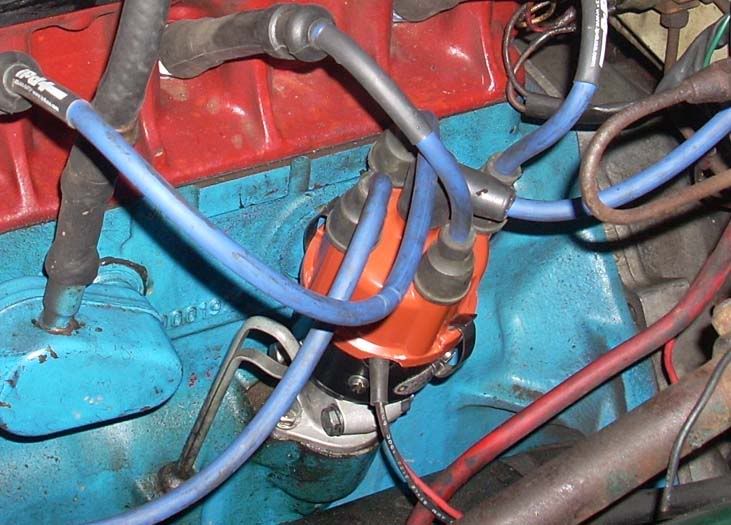
Today the "new" distributor was ready to go. Installation was pretty simple.

Photobucket

There it is. Nice and clean! (I'll explain the blue engine block later.)

So when installing a new distributor it's a good time for setting the engine timing. It would make sense, after all.

Here's the mis-adventure of the night!

I went to set the timing at about 1:30 am. Pretty late, I know. So I didn't want to do it on my street corner, for fear of waking up the neighbors. I drove the car over to an empty parking lot not too far from the house where I could make lots of noise with out bothering anyone.

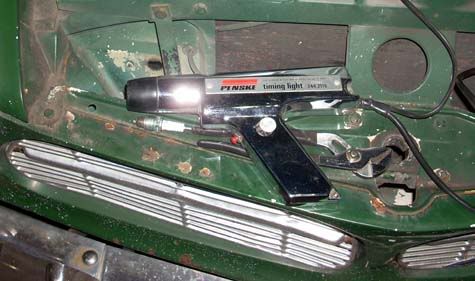
I get the timing light all hooked up with the engine off, everything is ready to go.

Photobucket

So right after I took this picture I went and started the car.

Suddenly I hear "WHAP WHAP WHAP WHAP!" and the timing light goes flying through the air!

I never made sure the timing light cords were clear of the engine fan, and sure enough they wrapped around the fan, ripping the cord right out of the timing light and sending it sky bound.

So I didn't get the timing set with a light, and I ended up killing the timing light. The worst part about the situation is that the timing light I killed wasn't even mine! So now I owe my friend a new timing light.

Live and learn!

Wednesday, December 10, 2008

Hello, I must be going!

Welcome to my new blog.

As many of my friends may or may not know, I've been driving Volvos for as long as I've been behind the wheel. Just over a year ago I bought what has become my favorite car, a 1966 122s.

This blog will discuss the work being done on the car. Already there have been many upgrades, and pictures to go along with them!

My 122 is far from perfect, but thanks to the care of the previous owner, I started with a very nice canvas on which to paint!

I hope you will enjoy reading about my (mis)adventures with my car.